Skip to content


Shop by Category
View all


ChiaoGoo Forté 2.0 Special Edition Interchangeable Knitting Set
$380.00
$420.00

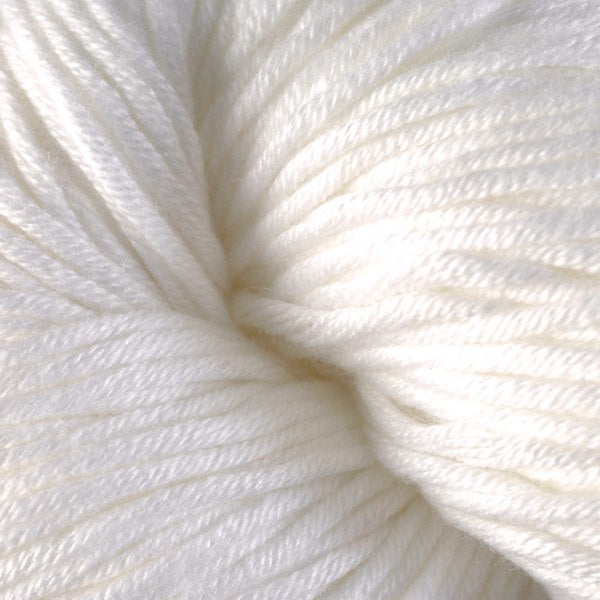
PF | Meadow Merino Blend
From
$5.74

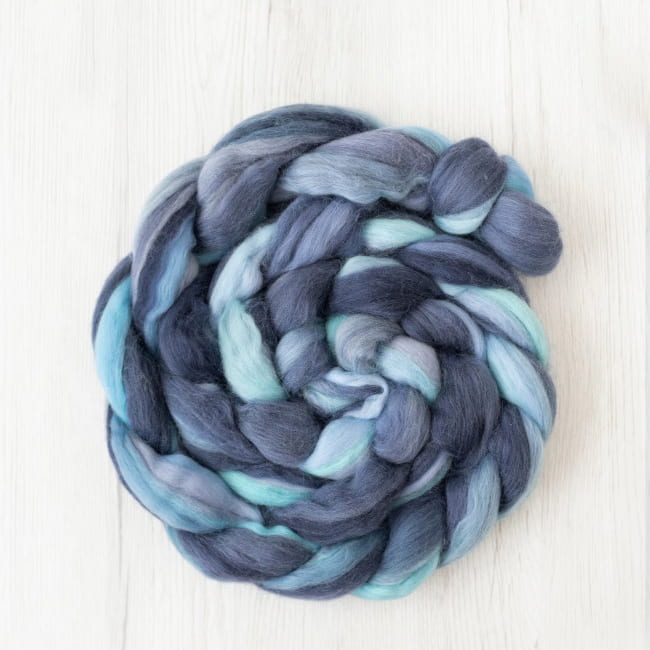
PF | Azure Merino Blend
From
$5.74


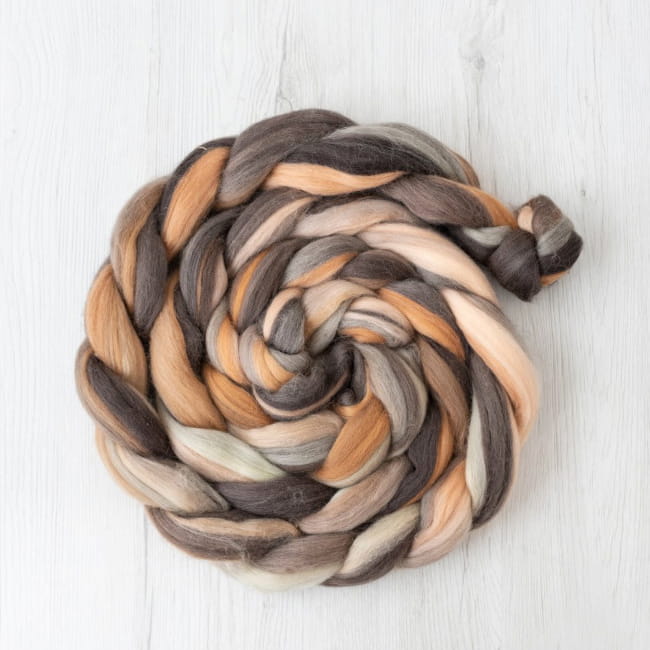
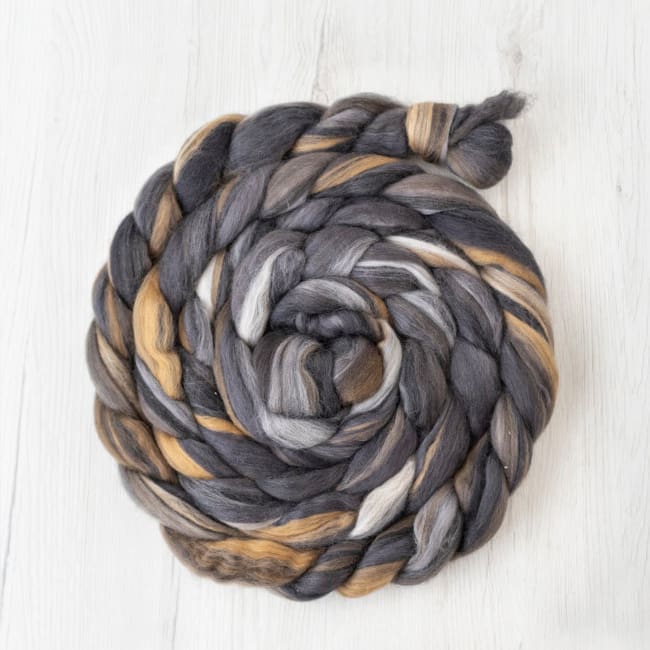
PF | Earthen Merino Blend
From
$5.74

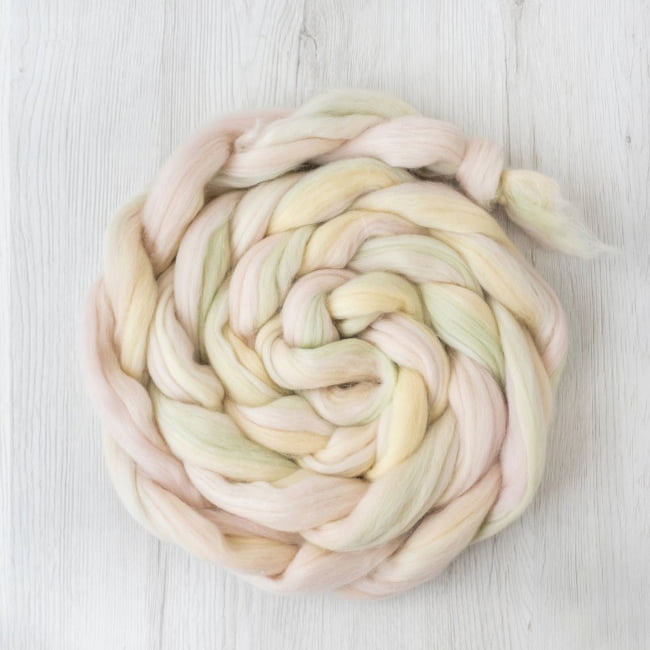
PF | Ethereal Merino Blend
From
$5.74

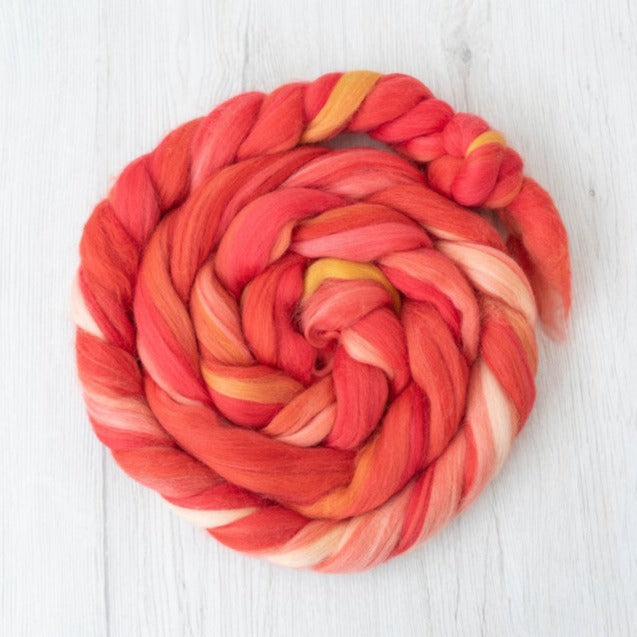
PF | Rouge Merino Blend
From
$5.74


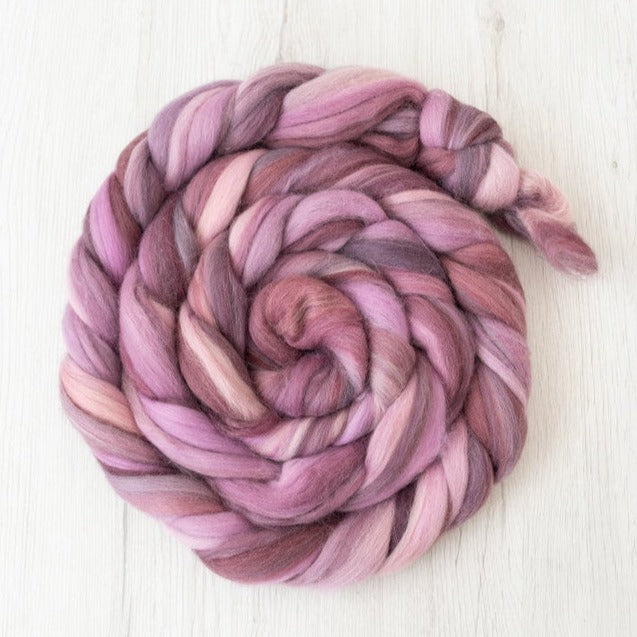
PF | Rosewood Merino Blend
From
$5.74

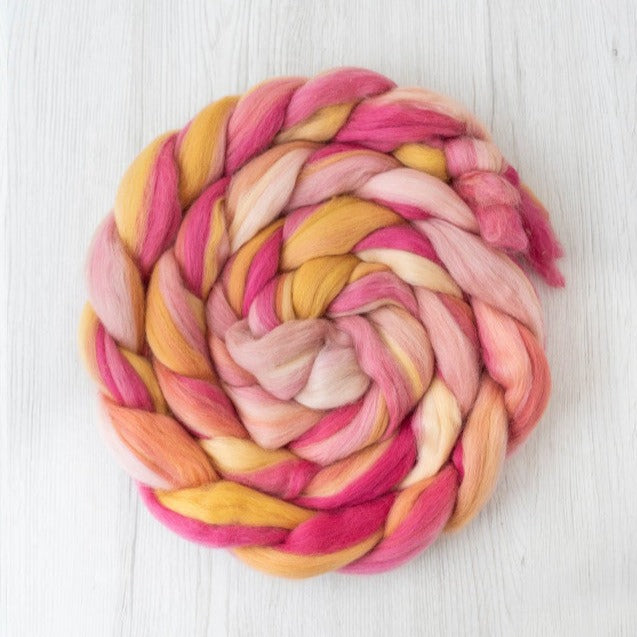
PF | Gigi Merino Blend
From
$5.74

PF | Velvet Merino Blend
From
$5.74

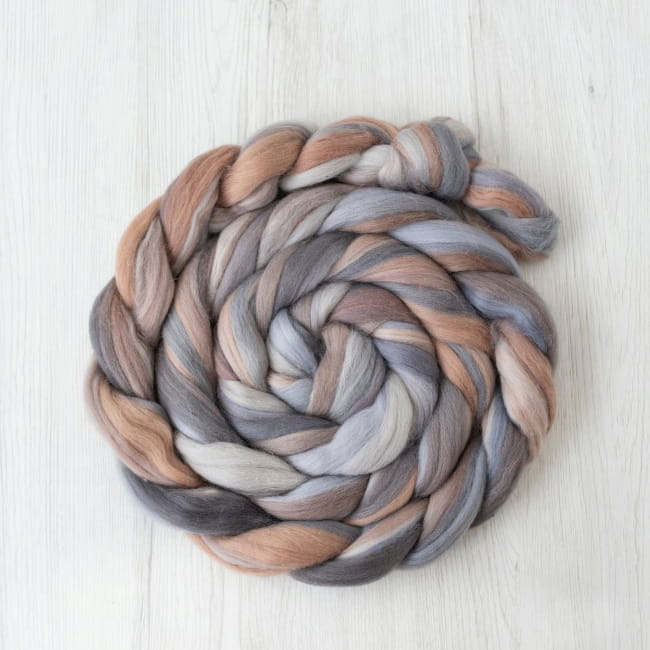
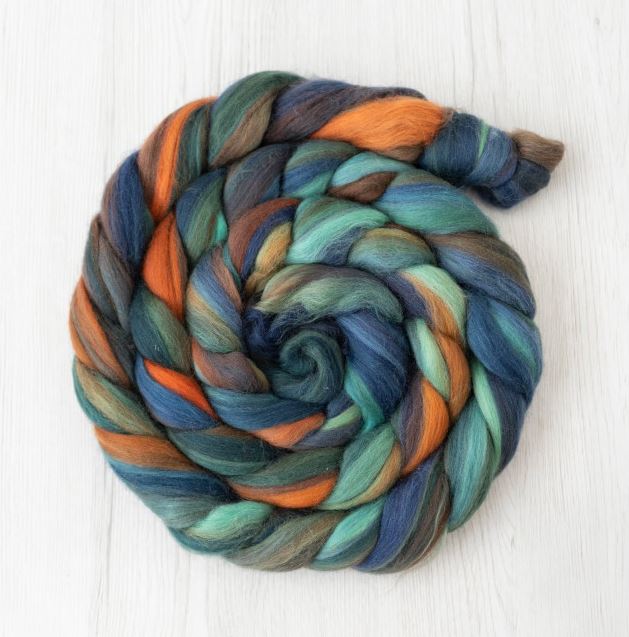
PF | Clockwork Merino Blend
From
$5.74

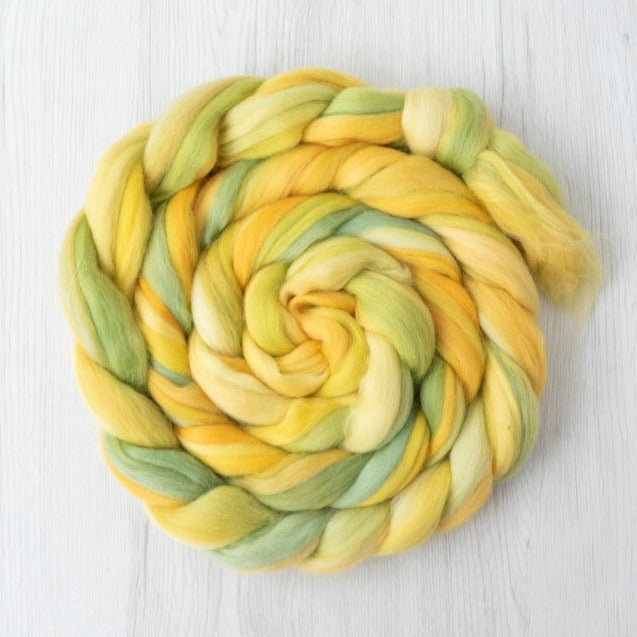
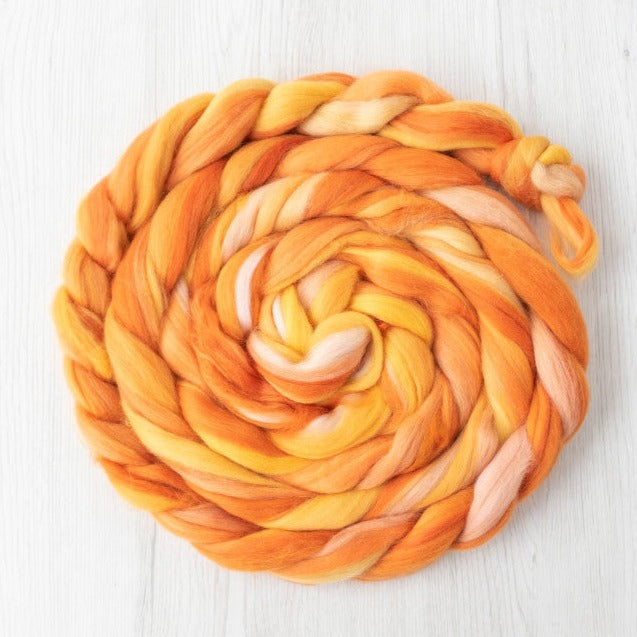
PF | Zest Merino Blend
From
$5.74